-
 Afrikaans
 -
 Albanian
 -
 Amharic
 -
 Arabic
 -
 Armenian
 -
 Azerbaijani
 -
 Basque
 -
 Belarusian
 -
 Bengali
 -
 Bosnian
 -
 Bulgarian
 -
 Catalan
 -
 Cebuano
 -
 Corsican
 -
 Croatian
 -
 Czech
Czech -
 Danish
 -
 Dutch
Dutch -
 English
 -
 Esperanto
 -
 Estonian
 -
 Finnish
 -
 French
 -
 Frisian
 -
 Galician
 -
 Georgian
 -
 German
 -
 Greek
Greek -
 Gujarati
 -
 Haitian Creole
 -
 hausa
hausa -
 hawaiian
 -
 Hebrew
 -
 Hindi
Hindi -
 Miao
Miao -
 Hungarian
 -
 Icelandic
 -
 igbo
igbo -
 Indonesian
 -
 irish
irish -
 Italian
 -
 Japanese
 -
 Javanese
 -
 Kannada
 -
 kazakh
 -
 Khmer
Khmer -
 Rwandese
 -
 Korean
 -
 Kurdish
 -
 Kyrgyz
 -
 Lao
Lao -
 Latin
Latin -
 Latvian
 -
 Lithuanian
 -
 Luxembourgish
 -
 Macedonian
 -
 Malgashi
 -
 Malay
Malay -
 Malayalam
 -
 Maltese
 -
 Maori
Maori -
 Marathi
 -
 Mongolian
 -
 Myanmar
 -
 Nepali
 -
 Norwegian
 -
 Norwegian
 -
 Occitan
 -
 Pashto
 -
 Persian
 -
 Polish
 -
 Portuguese
 -
 Punjabi
 -
 Romanian
 -
 Russian
 -
 Samoan
 -
 Scottish Gaelic
 -
 Serbian
 -
 Sesotho
 -
 Shona
Shona -
 Sindhi
 -
 Sinhala
 -
 Slovak
 -
 Slovenian
 -
 Somali
 -
 Spanish
 -
 Sundanese
 -
 Swahili
 -
 Swedish
 -
 Tagalog
 -
 Tajik
Tajik -
 Tamil
Tamil -
 Tatar
Tatar -
 Telugu
 -
 Thai
Thai -
 Turkish
 -
 Turkmen
 -
 Ukrainian
 -
 Urdu
Urdu -
 Uighur
 -
 Uzbek
Uzbek -
 Vietnamese
 -
 Welsh
Welsh -
 Bantu
Bantu -
 Yiddish
 -
 Yoruba
 -
 Zulu
Zulu
Feb . 03, 2025 03:09
Back to list
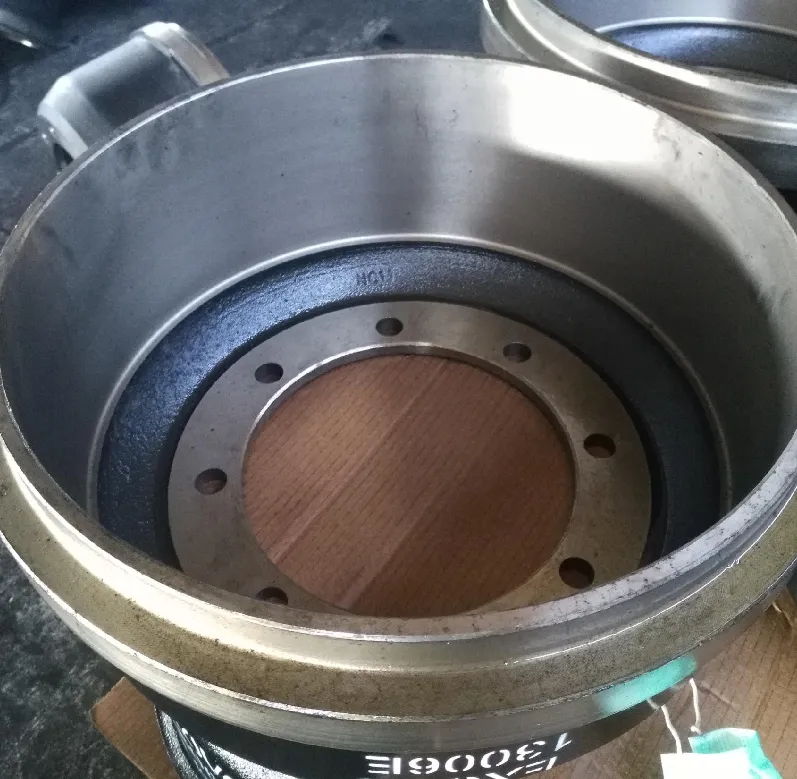
drum brake adjustment
For automotive enthusiasts and professional mechanics alike, understanding the intricacies of drum brake adjustment is essential for vehicle maintenance and safety. While disc brakes have become increasingly popular, drum brakes are still prevalent in various vehicles due to their cost-effectiveness and durability. Here's a comprehensive guide to navigating the adjustment of drum brakes, rooted in technical expertise, real-world experience, and authoritative knowledge.
Rotate the star wheel upward with the brake spoon, expanding the shoes outward until slight drag is felt when spinning the drum by hand. Over-adjustment can lead to premature wear or overheating, while under-adjustment may cause delayed braking response. The goal is to achieve a balance where the shoes contact the drum without significant resistance. Reassemble the brake components, meticulously retracing the steps taken during disassembly. Confirm all springs and clips are securely placed and that the brake drum spins with only minimal resistance indicating proper adjustment. Before lowering the vehicle, it's prudent to test the brake pedal. A firm pedal after several pumps confirms adequate hydraulic integrity and shoe placement. Following drum brake adjustment, conduct a road test in a safe and controlled environment. Be attentive to any braking noise, vibrations, or pulling, each of which warrants re-inspection. Consistent braking performance without anomalies confirms successful adjustment. This guide emphasizes the importance of meticulousness and patience. While the procedure is rooted in foundational automotive principles, the nuances often dictate vehicle safety and reliability. Remember, frequent checks and maintenance of the braking system not only extend component lifespan but also ensure safe driving conditions. Achieving expertise in drum brake adjustment not only reinforces knowledge of automotive systems but also empowers confidence in handling necessary vehicle repairs.


Rotate the star wheel upward with the brake spoon, expanding the shoes outward until slight drag is felt when spinning the drum by hand. Over-adjustment can lead to premature wear or overheating, while under-adjustment may cause delayed braking response. The goal is to achieve a balance where the shoes contact the drum without significant resistance. Reassemble the brake components, meticulously retracing the steps taken during disassembly. Confirm all springs and clips are securely placed and that the brake drum spins with only minimal resistance indicating proper adjustment. Before lowering the vehicle, it's prudent to test the brake pedal. A firm pedal after several pumps confirms adequate hydraulic integrity and shoe placement. Following drum brake adjustment, conduct a road test in a safe and controlled environment. Be attentive to any braking noise, vibrations, or pulling, each of which warrants re-inspection. Consistent braking performance without anomalies confirms successful adjustment. This guide emphasizes the importance of meticulousness and patience. While the procedure is rooted in foundational automotive principles, the nuances often dictate vehicle safety and reliability. Remember, frequent checks and maintenance of the braking system not only extend component lifespan but also ensure safe driving conditions. Achieving expertise in drum brake adjustment not only reinforces knowledge of automotive systems but also empowers confidence in handling necessary vehicle repairs.
Latest news
-
Rear Drum Brakes Maintenance TipsNewsAug.04,2025
-
Key Components Affecting Brake Drum FunctionNewsAug.04,2025
-
Important Inspection for Truck Drum BrakeNewsAug.04,2025
-
How to Prepare for Changing Rear Drum BrakesNewsAug.04,2025
-
Essential Tools for Cleaning Drum Brakes ProperlyNewsAug.04,2025
-
Brake Drum Function GuideNewsAug.04,2025
-
Safety Features of Red Brake DrumsNewsAug.01,2025
