-
 Afrikaans
 -
 Albanian
 -
 Amharic
 -
 Arabic
 -
 Armenian
 -
 Azerbaijani
 -
 Basque
 -
 Belarusian
 -
 Bengali
 -
 Bosnian
 -
 Bulgarian
 -
 Catalan
 -
 Cebuano
 -
 Corsican
 -
 Croatian
 -
 Czech
Czech -
 Danish
 -
 Dutch
Dutch -
 English
 -
 Esperanto
 -
 Estonian
 -
 Finnish
 -
 French
 -
 Frisian
 -
 Galician
 -
 Georgian
 -
 German
 -
 Greek
Greek -
 Gujarati
 -
 Haitian Creole
 -
 hausa
hausa -
 hawaiian
 -
 Hebrew
 -
 Hindi
Hindi -
 Miao
Miao -
 Hungarian
 -
 Icelandic
 -
 igbo
igbo -
 Indonesian
 -
 irish
irish -
 Italian
 -
 Japanese
 -
 Javanese
 -
 Kannada
 -
 kazakh
 -
 Khmer
Khmer -
 Rwandese
 -
 Korean
 -
 Kurdish
 -
 Kyrgyz
 -
 Lao
Lao -
 Latin
Latin -
 Latvian
 -
 Lithuanian
 -
 Luxembourgish
 -
 Macedonian
 -
 Malgashi
 -
 Malay
Malay -
 Malayalam
 -
 Maltese
 -
 Maori
Maori -
 Marathi
 -
 Mongolian
 -
 Myanmar
 -
 Nepali
 -
 Norwegian
 -
 Norwegian
 -
 Occitan
 -
 Pashto
 -
 Persian
 -
 Polish
 -
 Portuguese
 -
 Punjabi
 -
 Romanian
 -
 Russian
 -
 Samoan
 -
 Scottish Gaelic
 -
 Serbian
 -
 Sesotho
 -
 Shona
Shona -
 Sindhi
 -
 Sinhala
 -
 Slovak
 -
 Slovenian
 -
 Somali
 -
 Spanish
 -
 Sundanese
 -
 Swahili
 -
 Swedish
 -
 Tagalog
 -
 Tajik
Tajik -
 Tamil
Tamil -
 Tatar
Tatar -
 Telugu
 -
 Thai
Thai -
 Turkish
 -
 Turkmen
 -
 Ukrainian
 -
 Urdu
Urdu -
 Uighur
 -
 Uzbek
Uzbek -
 Vietnamese
 -
 Welsh
Welsh -
 Bantu
Bantu -
 Yiddish
 -
 Yoruba
 -
 Zulu
Zulu
how to remove electric trailer brake drum
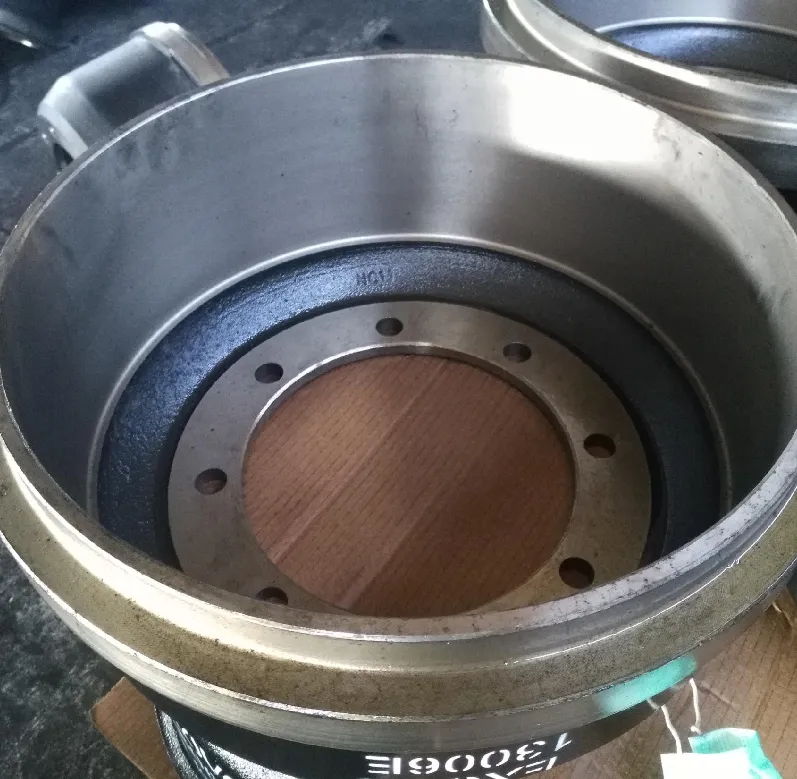
Removing an electric trailer brake drum can be a straightforward process if you follow the right steps and take appropriate safety precautions. Whether you're conducting maintenance or replacing components, proper knowledge of the procedure will help ensure your trailer operates safely and efficiently.
Materials Needed
- Wrenches and socket set - Screwdriver - Brake drum puller (optional) - Gloves - Safety goggles - Clean rags
Step-by-step Guide to Removing a Trailer Brake Drum
1. Safety First Before starting, ensure your trailer is parked on a level surface, and the wheels are chocked to prevent movement. Put on your gloves and safety goggles to protect yourself while working.
2. Remove the Wheel Begin by loosening the lug nuts on the wheel corresponding to the brake drum you intend to remove. Use a lug wrench or socket set to detach the wheel completely. It's advisable to do this while the wheel is still on the ground to prevent it from spinning.
3. Access the Brake Drum Once the wheel is off, you'll have clear access to the brake drum. In some cases, you may find that the drum is held in place by retaining screws or clips. If so, use a screwdriver to remove these attachments first.
how to remove electric trailer brake drum

4. Inspect for Rust or Damage Before attempting to remove the drum, inspect it for any visible signs of rust or damage. If the drum appears in good condition, proceed. If it's significantly corroded, it may need to be replaced instead of removed.
5. Remove the Drum Carefully try to pull the drum straight off the hub. If it appears stuck, you can gently tap around the edges with a rubber mallet to loosen it. In more stubborn cases, a brake drum puller could be used to apply even pressure, helping to separate the drum from the brake shoes.
6. Inspect Brake Components Once the drum is removed, take the opportunity to inspect the brake shoes, springs, and other components for wear or damage. This inspection is crucial for maintaining the braking system's effectiveness.
7. Clean and Replace if Necessary Use clean rags to wipe down the drum and the surrounding area. If you need to replace any parts, ensure to install them according to the manufacturer’s specifications.
8. Reassembly Once maintenance or replacement is complete, reassemble the brake drum and wheel. Tighten the lug nuts in a star pattern to ensure even distribution and safety.
Following these steps will help you efficiently and safely remove an electric trailer brake drum. Regular maintenance of your trailer's braking system is essential for safe towing, ensuring that your trailer performs optimally on the road.
-
What Are Drum BrakesNewsJul.07,2025
-
Understanding Brake Drum MaterialNewsJul.07,2025
-
Semi-Trailer Brake Drum: A Key Component for Extreme Loads and Long-Distance TransportNewsJul.07,2025
-
Drum Brake Pads for SaleNewsJul.07,2025
-
Brake Drums for SaleNewsJul.07,2025
-
Brake Drum ManufacturerNewsJul.07,2025
-
Aluminum Brake Drums: The Future of High-Performance CarsNewsJul.07,2025
