-
 Afrikaans
 -
 Albanian
 -
 Amharic
 -
 Arabic
 -
 Armenian
 -
 Azerbaijani
 -
 Basque
 -
 Belarusian
 -
 Bengali
 -
 Bosnian
 -
 Bulgarian
 -
 Catalan
 -
 Cebuano
 -
 Corsican
 -
 Croatian
 -
 Czech
Czech -
 Danish
 -
 Dutch
Dutch -
 English
 -
 Esperanto
 -
 Estonian
 -
 Finnish
 -
 French
 -
 Frisian
 -
 Galician
 -
 Georgian
 -
 German
 -
 Greek
Greek -
 Gujarati
 -
 Haitian Creole
 -
 hausa
hausa -
 hawaiian
 -
 Hebrew
 -
 Hindi
Hindi -
 Miao
Miao -
 Hungarian
 -
 Icelandic
 -
 igbo
igbo -
 Indonesian
 -
 irish
irish -
 Italian
 -
 Japanese
 -
 Javanese
 -
 Kannada
 -
 kazakh
 -
 Khmer
Khmer -
 Rwandese
 -
 Korean
 -
 Kurdish
 -
 Kyrgyz
 -
 Lao
Lao -
 Latin
Latin -
 Latvian
 -
 Lithuanian
 -
 Luxembourgish
 -
 Macedonian
 -
 Malgashi
 -
 Malay
Malay -
 Malayalam
 -
 Maltese
 -
 Maori
Maori -
 Marathi
 -
 Mongolian
 -
 Myanmar
 -
 Nepali
 -
 Norwegian
 -
 Norwegian
 -
 Occitan
 -
 Pashto
 -
 Persian
 -
 Polish
 -
 Portuguese
 -
 Punjabi
 -
 Romanian
 -
 Russian
 -
 Samoan
 -
 Scottish Gaelic
 -
 Serbian
 -
 Sesotho
 -
 Shona
Shona -
 Sindhi
 -
 Sinhala
 -
 Slovak
 -
 Slovenian
 -
 Somali
 -
 Spanish
 -
 Sundanese
 -
 Swahili
 -
 Swedish
 -
 Tagalog
 -
 Tajik
Tajik -
 Tamil
Tamil -
 Tatar
Tatar -
 Telugu
 -
 Thai
Thai -
 Turkish
 -
 Turkmen
 -
 Ukrainian
 -
 Urdu
Urdu -
 Uighur
 -
 Uzbek
Uzbek -
 Vietnamese
 -
 Welsh
Welsh -
 Bantu
Bantu -
 Yiddish
 -
 Yoruba
 -
 Zulu
Zulu
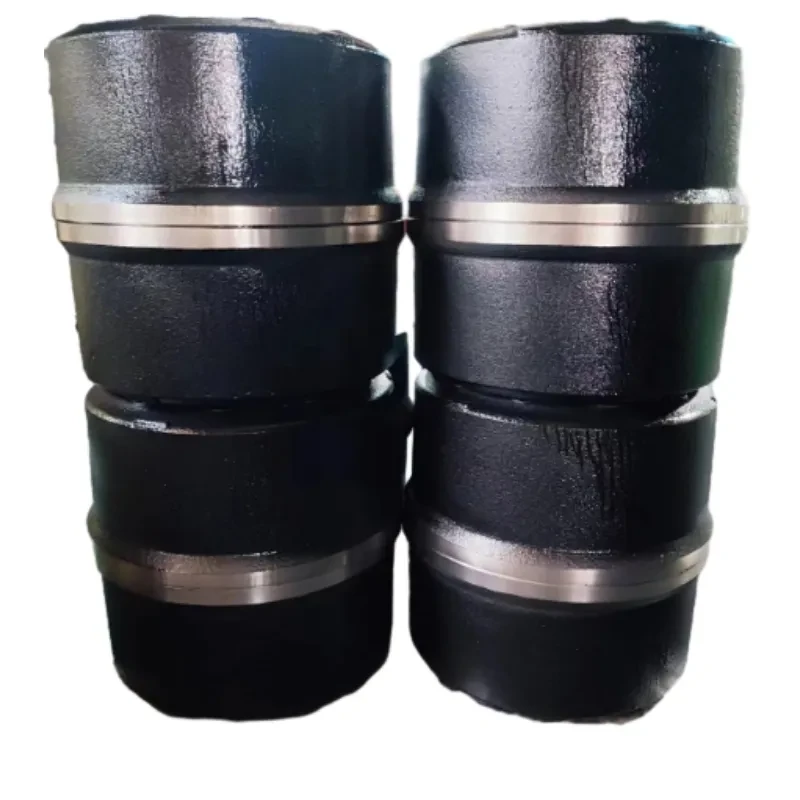
painting brake drums and calipers
Painting Brake Drums and Calipers A Step-by-Step Guide
When it comes to enhancing the appearance of your vehicle, painting brake drums and calipers is an effective and rewarding DIY project that can dramatically improve the aesthetics of your wheels. Not only does it add a personal touch, but it can also protect these components from corrosion and wear. Here’s a step-by-step guide to help you through the process.
Materials Needed
Before starting, gather all necessary materials - High-temperature brake caliper paint - Brake cleaner - Sandpaper (grit 240 and 600) - Masking tape - Paintbrush or spray gun - Clean cloths - Gloves and safety goggles - Jack and jack stands - Wheel chocks
Step 1 Preparation
Ensure your vehicle is parked on a flat surface. Using wheel chocks, secure the wheels that won’t be lifted. Loosen the lug nuts of the wheel you will be working on. Next, lift the vehicle with a jack and place it securely on jack stands. Once it is stable, remove the wheel to gain access to the brake drum or caliper.
Step 2 Clean the Surface
Before painting, it’s vital to clean the surfaces thoroughly. Use a brake cleaner to remove dust, grease, and any other contaminants. After applying the cleaner, wipe down the surfaces with a clean cloth. Allow everything to dry completely.
Step 3 Sanding
Using 240-grit sandpaper, lightly sand the surfaces of the brake drum or caliper. This step creates a rough texture for the paint to adhere better. After sanding, wipe the surfaces again with a clean cloth to remove any dust particles. If there are any rust spots on the drum, ensure you remove them completely during this process.
painting brake drums and calipers

Step 4 Masking
To prevent paint from getting on other components, use masking tape to cover any areas you don’t want painted. Be meticulous with this step to ensure clean lines and avoid overspray.
Step 5 Painting
Now comes the fun part—painting! If you’re using a spray can, shake it well to ensure an even distribution of paint. Apply the first coat in light layers to prevent drips. If using a paintbrush, make sure to apply thin, even strokes. Allow the first coat to dry as per the manufacturer's instructions before applying additional coats. Two to three coats are often recommended for a smooth, even finish.
Step 6 Curing
After applying the final coat, allow the paint to cure as per the product guidelines. This usually involves letting the vehicle sit undisturbed for a few hours to a day, depending on the type of paint used. This step is crucial; it ensures the durability and longevity of the paint job.
Step 7 Reassembly
Once the paint is completely dry, carefully remove the masking tape. Reinstall the wheel and tighten the lug nuts while the vehicle is still lifted. Lower the vehicle back down and then tighten the lug nuts completely in a star pattern to ensure even pressure.
Conclusion
Painting brake drums and calipers is a relatively simple but impactful way to enhance your vehicle's appearance. By following these steps, you can achieve a professional-looking finish that will make your wheels stand out. Always remember to prioritize safety and take appropriate precautions during the process. Enjoy your beautifully painted brake components and the personal touch they add to your ride!
-
What Are Drum BrakesNewsJul.07,2025
-
Understanding Brake Drum MaterialNewsJul.07,2025
-
Semi-Trailer Brake Drum: A Key Component for Extreme Loads and Long-Distance TransportNewsJul.07,2025
-
Drum Brake Pads for SaleNewsJul.07,2025
-
Brake Drums for SaleNewsJul.07,2025
-
Brake Drum ManufacturerNewsJul.07,2025
-
Aluminum Brake Drums: The Future of High-Performance CarsNewsJul.07,2025
